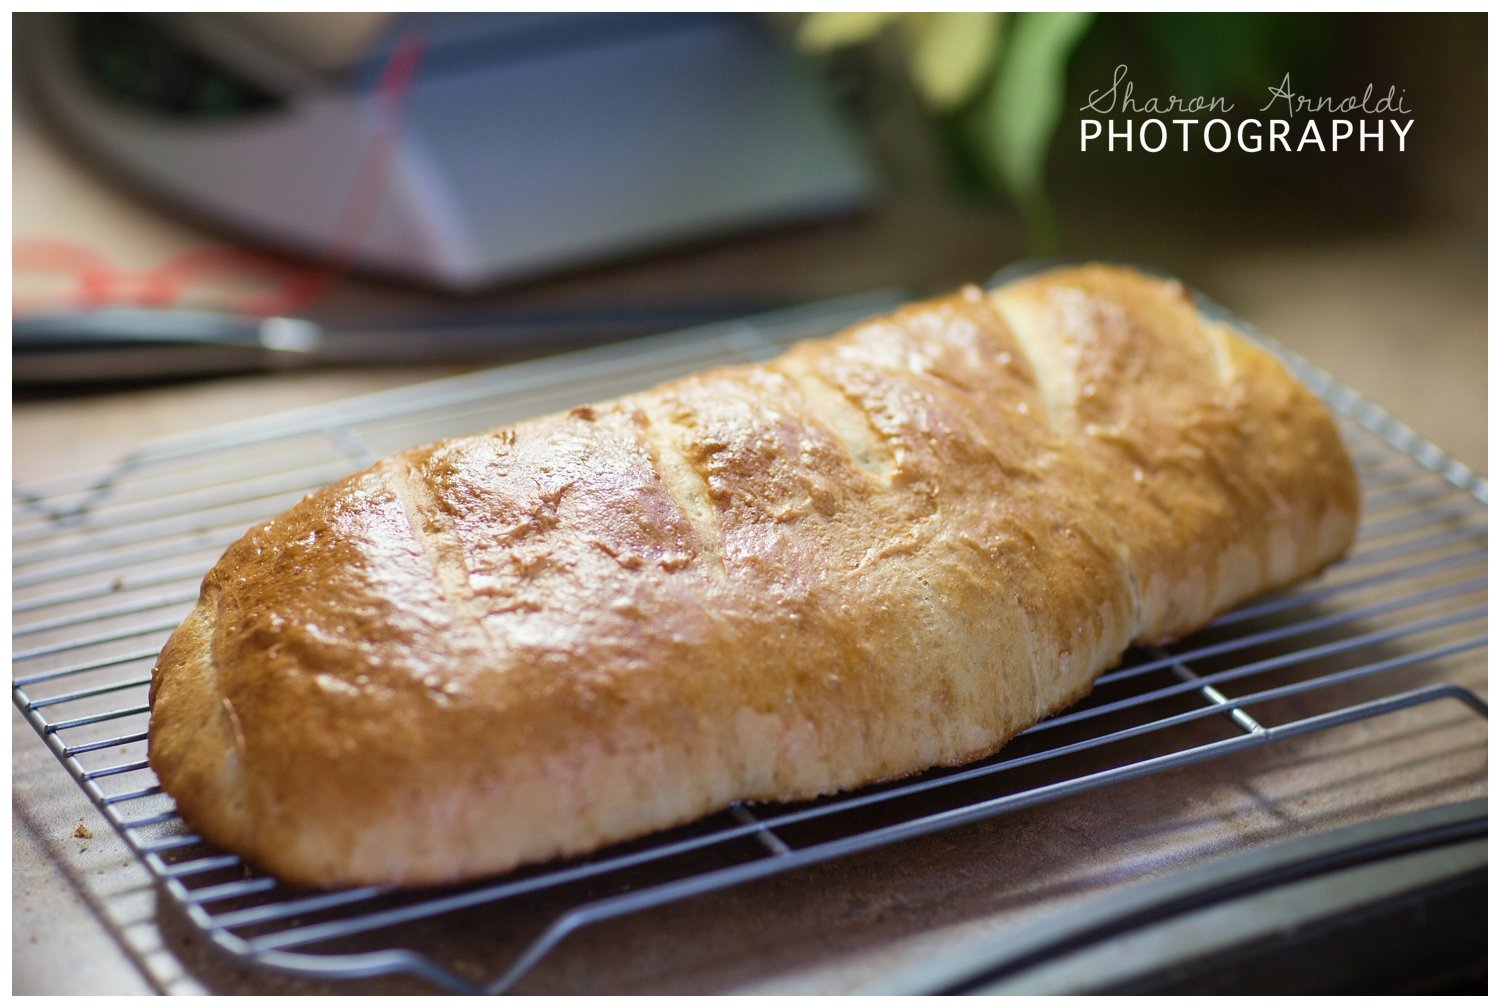
One of our favorite recipes for making our own bread!
Trying to pair down our grocery budget really caused us to step back and look closely at all the ingredients in the foods we purchase from the grocery store. If we are spending money on the item and are putting it into our bodies we should know exactly what is in it right? Eeek it's kinda scary all those ingredients on the labels these days. I really had an eye opening experience while at King Soopers buying some popcorn to go with our movie night. We were just looking for some simple & yummy microwave popcorn when my husband said hey, what is "XXXX" ingredient, and I honeslty didn't know so we started googling the things we'd never heard of. Some of which just didn't sit well putting in my body or feeding it to my 3 year old. This really hit a nerve with us... there really aren't that many brands with actual REAL food ingredients and the ones that are... are MUCH, MUCH more expensive.
We started researching how to make our own food items. The easiest and first thing I started making is homemade granola bars. We used to spend $4 on a box of 6 bars - full of preservatives, high fructose corn syrup and all and now I know exactly what is in our bars and instead of making 6 bars we make 10. Our bars have oatmeal, chia seed, nuts (hazel, cashew, whatever we have on hand), peanut butter, honey, butter, brown sugar, vanilla. They are yummy! The recipe we use is this one from Pennies & Pancakes and I make a modified half batch weekly (seriously otherwise we'd eat all of them).
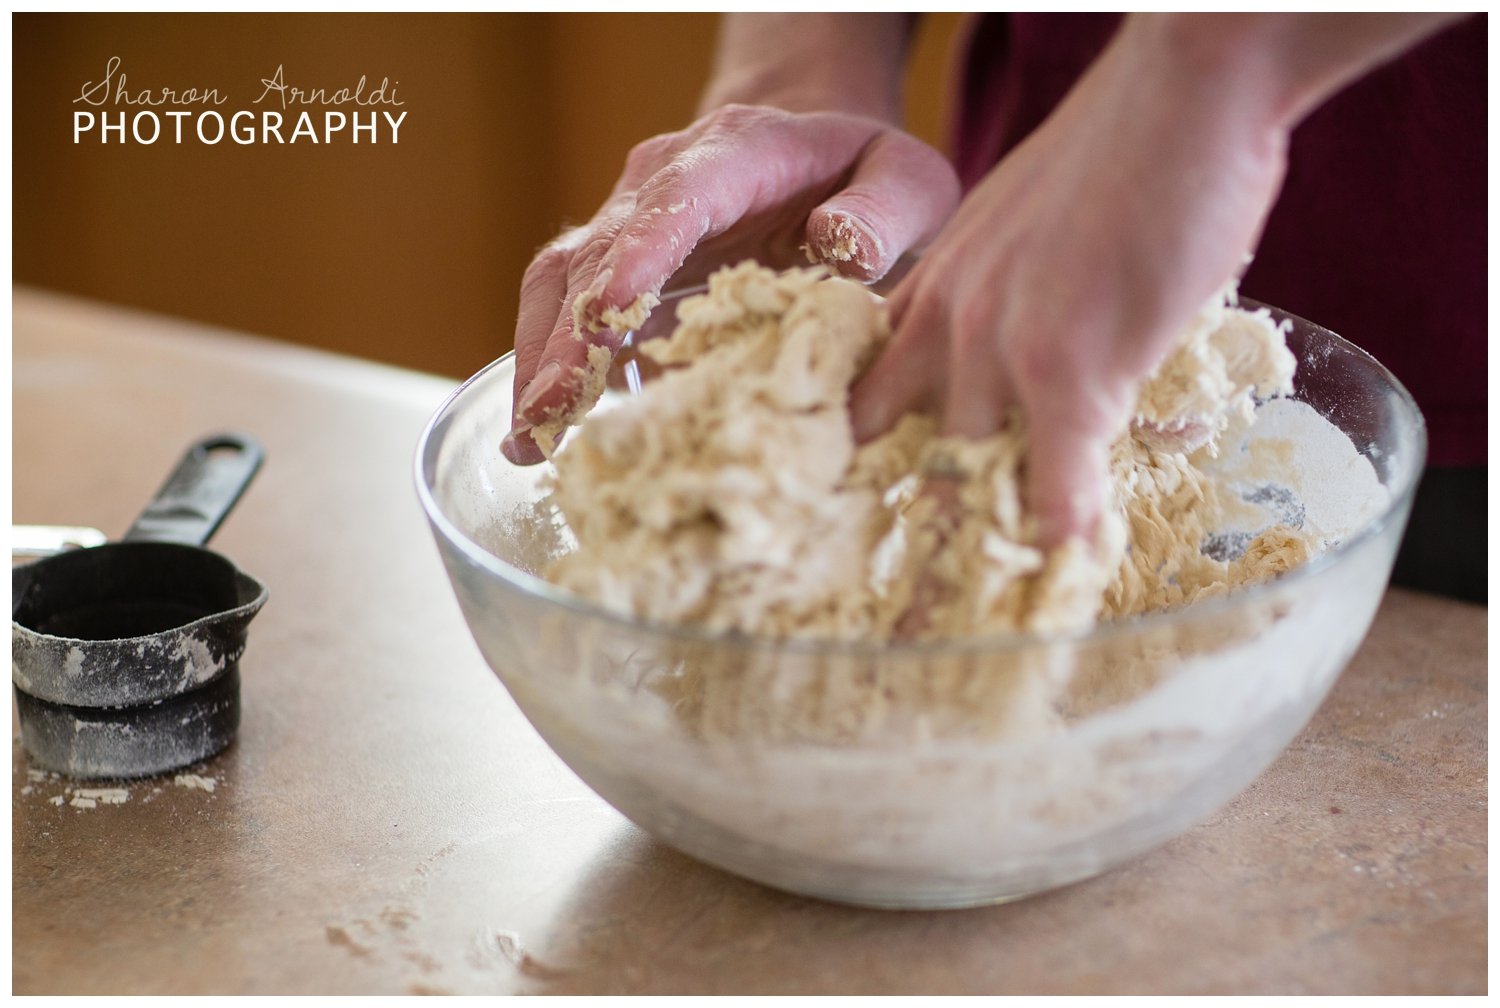
I started reading on how to make your own bread, it seemed easy enough so my husband and I tried it. We do not have a bread maker, we do not have a stand mixer, seriously we just use our hands to mix & knead it then bake it in the oven. The bread we make takes a good chunk of time but its not all hands on, most of the time it just sits around rising. We usually get the yeast & sugar started first, then plan our shopping lists, mix the dough up, then leave for Sprouts (grocery store 1) while the dough rises. We come back home and unload the car. Punch the dough down, knead it and let it rise again while we head off to King Soopers (Grocery Store 2). We get back from King Soopers and bake it in the oven. We make 2 loaves at once so one gets frozen and the other we use right away. We use this recipe also from Pennies & Pancakes... yes I know I'm obsessed. The photos in the post are all of the french bread we made, not our sandwich bread. The problem with making french bread is that it only lasts an hour in our home before we eat it all. Its SOOO good! The french bread recipe is here and I listed it below too!
It does 100% require effort, but it is a lot of fun and it's a family activity we've done for the past couple months. It is seriously a keeper and Elise will grow up with memories of baking her own bread, what an amazing life skill to have! I also started making a lot of the yummy baked goods from the site as well. We now make our own pizza dough, pizza sauce, cinnamon rolls, crackers, dinner rolls, and the list keeps growing. We hope to one day buy a wheat mill so we can make our own flour but its WAY at the bottom of our list.... after some new furniture & wood floors.

The French Bread Recipe from Pennies & Pancakes:
INGREDIENTS
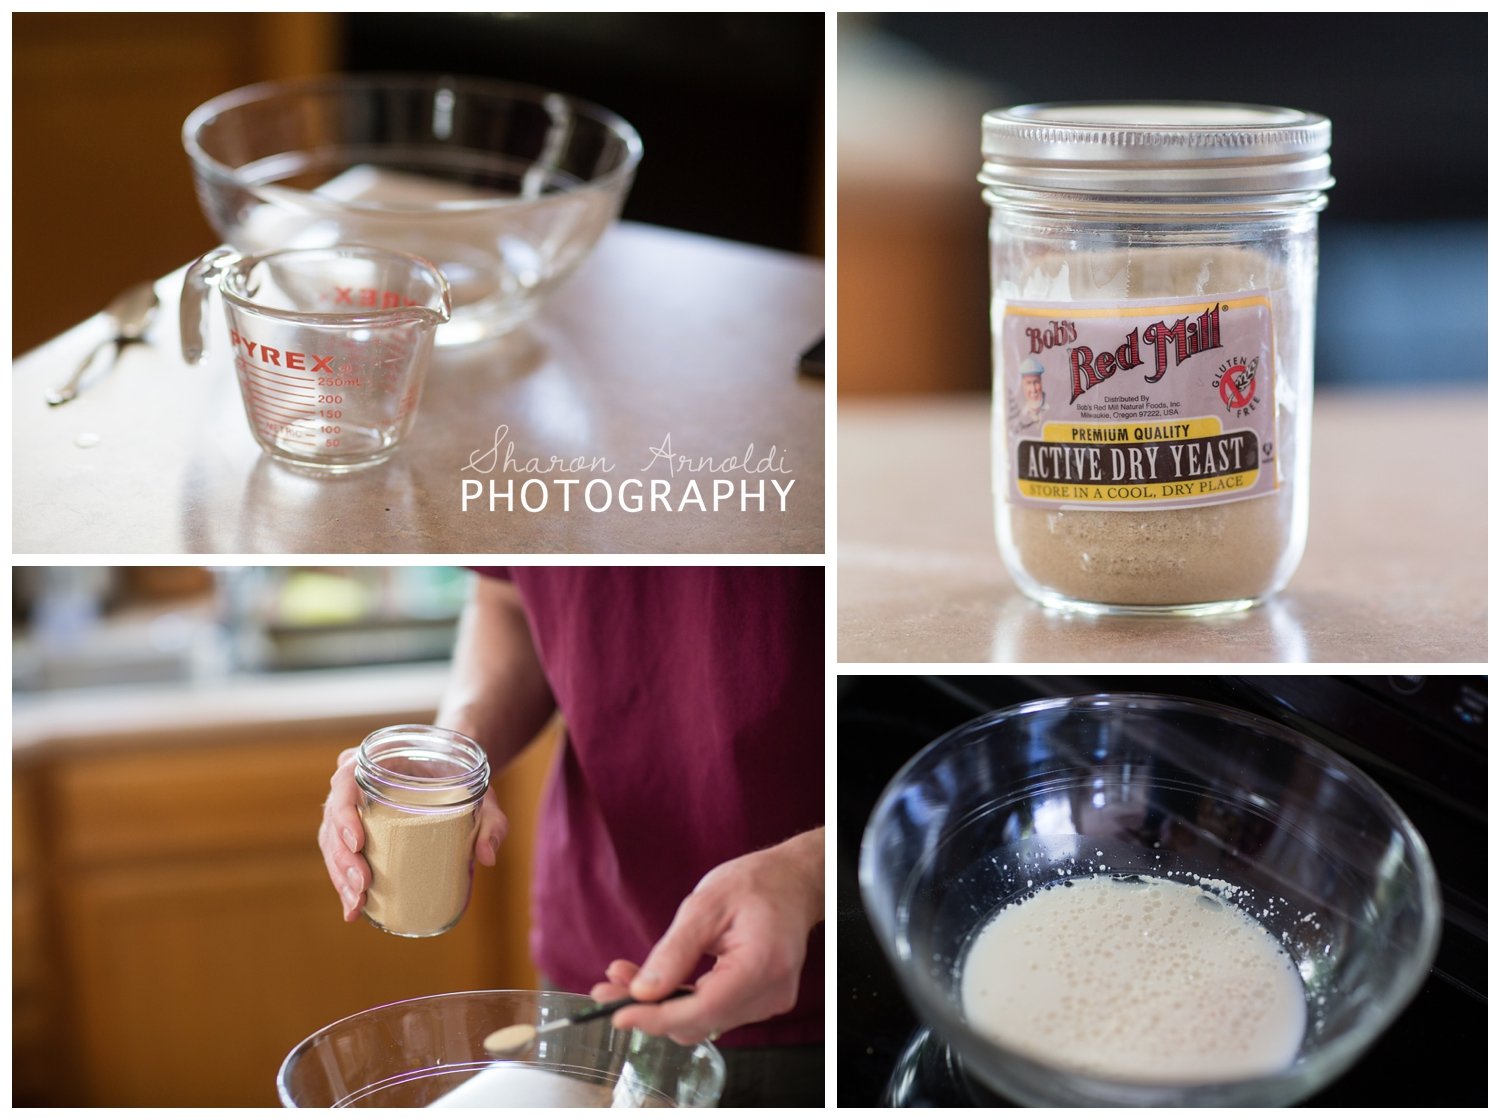
1 cup luke-warm water
2 tsp. dry active yeast
1 tsp. sugar
1 Tbsp. oil
3/4 tsp. salt
2 1/2 - 3 cups all-purpose flour
1 tsp. oil (for coating dough)
*opt. 1 well-beaten egg + 1 Tbsp. water (brush on loaf before baking for a shiny exterior)
DIRECTIONS
In a large bowl, or standing mixer, combine warm water, yeast, sugar, and oil. Let sit at least 10 minutes. Add the salt and 2 1/2 cups flour. Mix the ingredients to form a very slightly sticky ball of dough, adding more flour by Tbsp. if needed to create the right consistency. Mix for 8-10 minutes.
Using your hands, lightly coat the ball of dough with 1 tsp oil. Cover and let rise till doubled in size (1- 1/2 hours).
Punch down the dough, and knead it for 5 minutes.
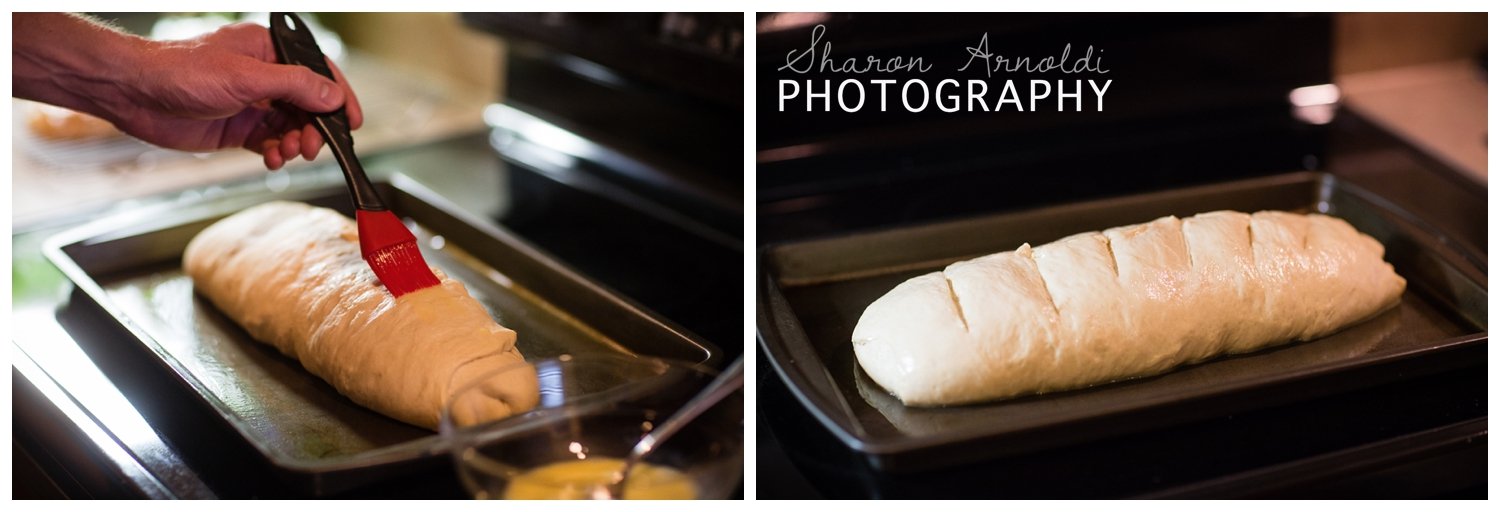
Spray a baking sheet with non-stick cooking spray. Using your hands, flatten the dough into approximately a 12x6-inch rectangle. Starting with a long side of the rectangle, roll the dough into a log. Pinch the seams and ends together.
Cover and let rise 30 minutes on the baking sheet. Uncover, and if desired, lightly coat in an egg wash made from one well-beaten egg and 1 Tbsp water. Using a very sharp knife or razor, gently make 1/4-inch deep slices on top of the loaf. While the oven pre-heats, allow the dough to rise, uncovered, an additional 10 - 15 minutes.
Place a pan of water in a cold oven. Move a rack to the top level of the oven. Pre-heat the oven to 450 degrees.
Once the oven has reached 450 degrees, place the loaf on the top rack, quickly pour 2 Tbsp. of cold water (or ice cubes) on the bottom of the oven, and shut the door. (The steam from the water in the pan, and the water on the bottom of the oven creates a crispy/chewy crust.)
Bake for 10 minutes at 450 degrees. Lower the heat to 375 degrees and bake an additional 15 minutes. Crust will be golden brown, and hard to the touch.
Remove from the oven, and allow to cool on a wire rack at least 5 minutes.